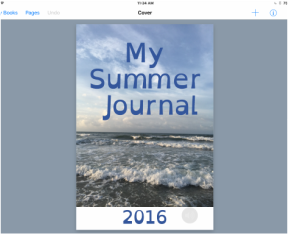
 The book creator app (that I constantly rave about) is on sale this week only. The app is available for half price, which means the full version of the app is discounted to $1.99. If you are buying for a school, using the Volume Purchase Program, the reduced rate is $0.99. This price is for 20 copies or more. The sale ends this Sunday, 9/25. You can purchase the app here. Want more info on the app or need ideas? Check out my blog post for lots of ideas for using the tool in your classroom.
0 Comments
 One of my all time favorite creation apps. While the $4.99 ($2.49 with VPP for Education) price tag might turn some away, once you try it you will find that it is worth every penny. It’s basic enough for Kindergarteners to use but it’s packed with features making it appropriate for use by all - including middle/high school and even adults! More on that in a bit. If you are new to the app, download the free version (which allows you to create one book). A few of my favorite things about this app:
If you are new to Book Creator, the best way to check it out is to download the free version and PLAY. It’s extremely intuitive and students end up discovering lots of ways to get fancy with their work. In a nutshell, it’s a creation app that allows you to publish written work. You can use it in your classroom for any written piece (Examples: personal narrative, how-to, research, imaginative narrative, etc.) Students should still write and edit however they typically do in class (on paper or in Google Drive, etc.) but then have them create the final copy in Book Creator. Their work can now be shared with classmates, parents or anyone you choose. Their audience just grew exponentially! And, audience is what gives our kids purpose in their writing. Chances are that as your kids use this tool, or any for that matter, they will discover new features that we didn’t even realize were there. Kids are good like that, aren’t they? Capitalize on these a-ha moments. As kids discover tips or tricks, have them teach your class a mini-lesson. Mirror their iPad to the board and let them go. Kids teaching kids creates such an authentic learning experience for all involved. Now on to the Back-to-School ideas... 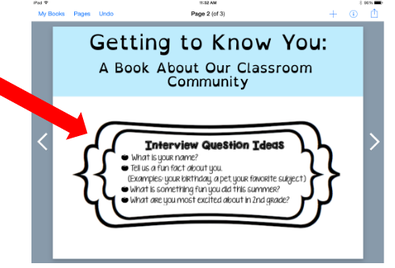 Add stuff that you have already created on your computer. Add stuff that you have already created on your computer. Collaborative Books Book Creator allows students to each create a page (or pages) which can be combined into one book. This is handy for beginning of the year projects such as these: Building Classroom Community: A quick get-to-know-you activity such as the following can serve as a great way for kids to learn this app. Pair students up. Have students interview each other and make a page about their partner. Join the pages together and you have a class eBook and video to share with the class (and perhaps to share at Back to School Night). For specifics on how to join the pages, check out this blog post. If you are new to the app, a great way to learn the features would be to create a book about yourself to share with your class. Tip: As seen in the example above, use stuff you have already created on your computer. Check out the great stuff the TwoTechieTeachers create for their students and follow them on Twitter for a continuous stream of great ideas! @MrsCoppleSES and @KindergartenVF Procedures, Procedures, Procedures! Besides paperwork and assessments, we spend the bulk of the first few weeks of school teaching our expectations and routines. Have your students make “How To” books for your classroom procedures. Their directions can include text, audio and video. Download the book as a video and insert them into your morning message slides or show them during morning meeting as a review. You can also share them with parents via email so that they can reinforce at home. If you are a PBIS school, consider making a book that covers your school matrix. Feature kids modeling positive behavior. The books and/or videos can be posted on your school website. Access for All As you are working on these projects, remember to make them accessible to all learners. Have a bilingual student record each procedure in his or her native language. This will not only help the student, it will also help his or her family know what is expected in your classroom. Other great accessibility features of Book Creator include:
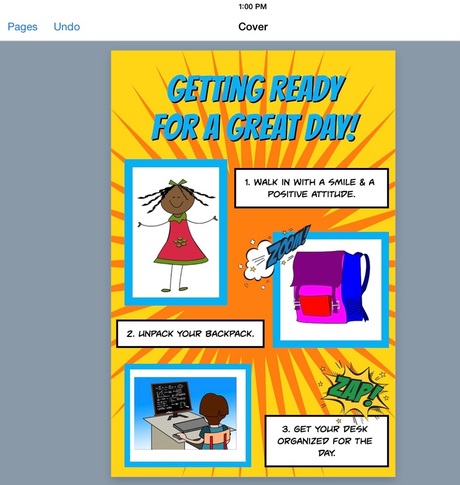 Try Comic Books Book Creator allows you to make learning fun with comic book creation. Kids are totally into graphic novels these days, what better way to have them get excited about writing? Have them create their own graphic novels - for any topic of required writing. As always, they should follow the planning and editing process that is required, but then use this tool to exercise creativity and publish their writing piece in the form of a comic book. Teaching Procedures: Comic books can also be fun for classroom procedures. Create a class book of procedures and assign a page to each group of students. They can create a comic for each procedure and add audio (think: fun background music and voice overs!). This would be great if you decide to download the book as a video and play for the class (as mentioned in the procedures section above). Combine the pages to make one book. You can even download as a PDF and print the pages as posters for each area of your classroom. Read more about the comic book feature here. And be sure to check out yet another amazing project from the TwoTechieTeachers: "Heroes of Exploration" using the comic book feature. Other Learning Ideas: Explaining science concepts, vocabulary words, reading response, etc. I could go on and on about more ideas for using this awesome tool, but hopefully your wheels are now turning and your own ideas are starting to flow. Last but not least, be sure to connect with @BookCreatorApp on Twitter to keep up with all the great stuff they are doing. Also, check out their blog for TONS of great ideas and jump into one of their free webinars for teachers hosted by @ClassTechTips. Such great stuff! Here's wishing you a start to this school year that will inspire both your students and your practice!
Follow @techtools4ed on Twitter and stay tuned to this blog for more tech tools you can use to kick off your 2016-17 school year!
If you have not yet heard about Adobe Spark, listen up! This FREE set of creations apps is available on devices and in web browsers making it super accessible no matter what device your students use. It’s the perfect set of tools to jumpstart your school year. The following is a brief summary of the three apps and a few ideas for how to use them for teaching and learning during the first few weeks of school.

Spark Post
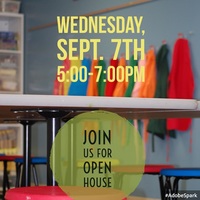
Allows you to create graphics with text that can be used for any number of things such as infographics, memes, announcements, invitations, etc. Use them on your website, in emails, etc. You can choose from a collection of images, or upload your own. 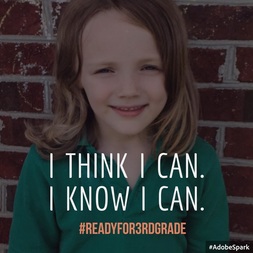
Ideas for Teaching & Learning

Spark Video
Video creation made simple. Seriously. Combine text, graphics and music to slides using provided themes (or your own) to create a beautiful story told through video. You can also choose from a selection of story structures to build your video. Preloaded templates include: an invitation, show and tell, promote an idea, teach a lesson, etc. I love how simple this tool is, yet how stunning the final product turns out! When I discovered this suite of apps I handed my iPad off to a seven-year-old and here's what she came up with. Within a few minutes she had the app figured out and created this video (embedded below).
Ideas for Teaching & Learning

Spark Page
Allows you to create “web stories” or webpages of information pages such as journals, articles, portfolios, etc.
Ideas for Teaching & Learning
What ideas do you have for using these tools in your classroom? Share with us in the comment section below. The options for using Adobe Spark in teaching and learning are endless! Head on over to the Adobe Spark website, set up your free account and start creating. Also check out the Adobe Education Exchange for tips and ideas. Your students can't wait to see what you come up with!
Follow @techtools4ed on Twitter and stay tuned to this blog for more tech tools you can use to kick off your 2016-17 school year! 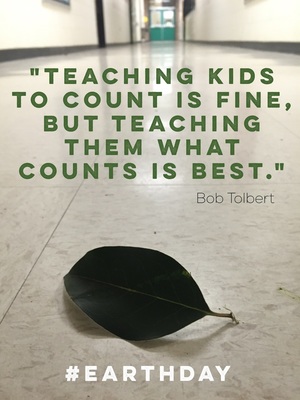 Earth Day is just a few days away (4.22.16), but with all the demands placed on teachers right now, is there time to even mention it? I hope so! I love the quote to the left and fully embrace its implications for teaching and learning. However, as a former classroom teacher, I'm also aware of the time and curriculum constraints placed on teachers. Today, I share a quick yet meaningful way to integrate Earth Day in your classroom this week. I just had the privilege of designing an Earth Day focused, school-wide STEaM Challenge for an elementary school. (More on that in another post.) We linked the project to the Earth Day Network’s theme for Earth Day 2016: Trees for the Earth. If you haven’t had a chance to check out their goal of planting 7.8 billion trees by 2020 (one for each person on the planet) read more HERE. The students loved being a part of this exciting goal as each classroom was able to plant a tree. Another focus the challenge was to introduce students to the work of Wangari Maathai, the first African woman to receive the Nobel Peace prize. She started the Green Belt movement, replanting the trees of Kenya and supporting women’s rights. Her story is motivating and powerful and thankfully, there are quite a few children’s books that do an excellent job of sharing her story. Hopefully you have one of more of these titles in your schools already, but if not, thanks to YouTube, we have a few read aloud for us. I would still encourage purchasing the books for your classroom and/or school libraries, but for the sake of this week, check out the videos. My favorite clip is the Hummingbird Parable. If nothing else, I would share this clip with my students and share Wangari’s story. Then have a follow-up discussion on how they can be hummingbirds every single day. Below you will find the list of resources I’ve compiled and a few quick extension ideas for free writes or even just discussion. I hope that you take a few minutes to explore them and squeeze even just a little bit of this powerful story into your classroom this week. You, too can be a hummingbird and teach what counts. Teaching Resources Videos
If you have time to go deeper with the text, Wangari’s Trees of Peace, check out this comprehensive Lesson Plan (designed for K) that has great discussion questions and more.
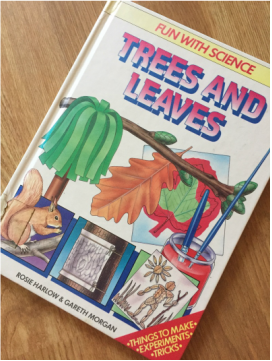
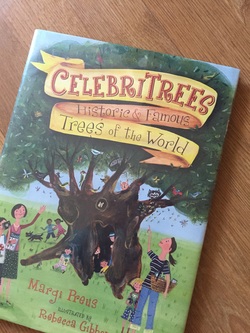
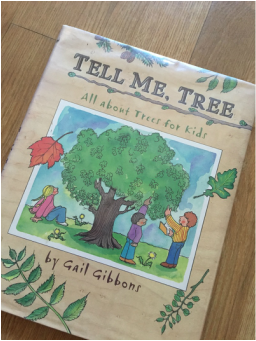
Books Seeds of Change by Jen Cullerton Johnson (Grades 3 and up) Planting the Trees of Kenya by Claire A. Nivola (Grades K & up)
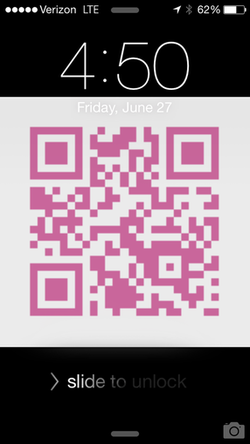
Mama Miti by by Donna Jo Napoli and Kadir Nelson Additional Resources Cause & Effect Lesson Plan & Additional Videos Resources Writing Prompt Extension Ideas: Wangari Maathai’s dream was to replant the trees of Kenya. What is one dream you have for your neighborhood, school, town or planet? Brainstorm some ways you can make a difference. Write about it or draw a picture. Can you brainstorm an invention that would help solve an environmental problem? Think of a problem you see at school (ex. Styrofoam trays in the cafeteria), at home (your parents plastic coffee cups or k-cups) or in your neighborhood or even on our planet ? Do some planning then draw a diagram or sketch a picture and tell us about it! Other Great Earth Day/ Tree Themed Books 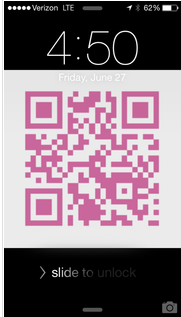 Although vendors will scan your official bar code, you may want to have your contact info linked to a QR code to make sharing your details with other attendees quick and easy. Business cards (are those still a thing?!?) get lost in the shuffle. Make your QR code the lock screen image on your device, since you will have the device handy at all times. As you connect with other attendees, they can scan and save your contact details. As an alternative, you can print your QR and slip it into your plastic conference badge holder. Not familiar with creating QR codes? For QR code creation, I like qrstuff.com. You can link the code to a host of things including your contact information. You can also personalize the code with colors, etc. There are also some great Chrome extensions for QR creation and management. For scanning, I use the I-nigma app. Just make sure you have a system for organizing all those QR codes you scan. Read this post for more info on organizing the QR codes you scan and other great conference tips!  Need to spice up your tech PD for the 2015-16 school year? Try this out... {Re-posted from February 2015} This month my classroom teacher colleague & tech integration guru, Courtney Sears and I presented a tech PD session for our staff. We wanted to mix things up and not require staff to suffer through yet another sit-and-get style PD. Instead, we implemented a playground model allowing our teachers to move around and get their hands on 10 tech tools that they might not ordinarily have time to check out. We ended our session with several rounds of Ed Tech Speed dating. Overall, we found this session to be a great way to engage our teachers. Interested in trying it in your school? Read on. We started by creating a Google site to house the information about each tool. Each subpage includes a tutorial and links to legit samples from classrooms. This is our site: Ed Tech Playground. Apps we Featured:
Setting Up the Space We held the training in our school library. After a short intro presentation (linked HERE), teachers had 1.5 hours to rotate through the stations of interest to them. Each station had a sign with a QR code to the padlet question. We used this as an“exit ticket" technique for each station. Padlet was a great tool to collect teacher's thoughts and ideas. Samples of our Padlet questions:
Meet Your Ed Tech Match For the final 30 minutes of our PD session, we engaged our teachers in Ed Tech Speed Dating. We arranged our tables into two long rows and staff members, in pairs, sat across from each other. Each staff member had three minutes to share with their partner. They were asked to share their favorite tool from today and how they planned to use it in their classrooms. We used the handy 1-Click Timer (Chrome Extension) on the Smart Board to keep track of time. Every three minutes as the timer sounded, one group of staff rotated to the left and the other to the right - to allow for new partners. We were thrilled with the buzz throughout the room. This process helped solidify their learning through sharing and listening. Check out the video below. Wrap-up As usual, we used a Google form to collect feedback on the session. We kept it short and sweet. Take a look, HERE. Some of the responses we received included:
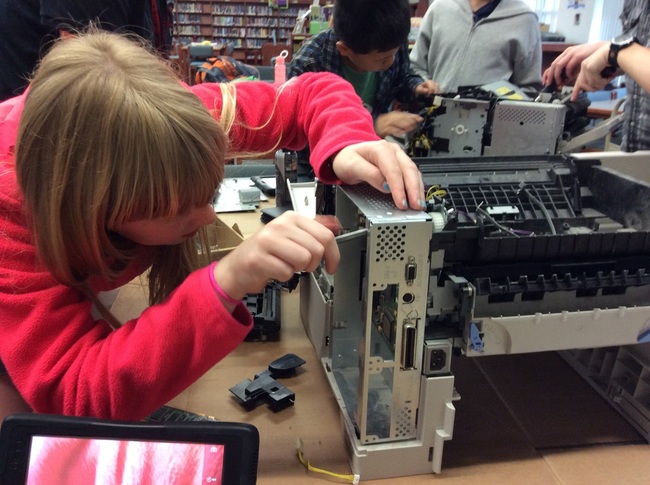
We will definitely continue to use this PD model in the future. I hope that you are inspired to shake up your PD a bit and give teachers the time and space to explore and process new tools.  Alice Cooper's School's Out seems to be on a loop in my head which was a good reminder to write this post. We've all been getting bombarded with emails filled with end of the year & summer resources. I've been collecting them in one spot. Check out this collection of websites, apps, online courses and more and share with parents, or anyone that might find it useful. Most of the tools are geared toward K-5, but some are applicable to younger and older students. I'll continue to add to it throughout the summer. Have a tool to add? Leave a comment. Thanks! Summer Learning Tools for Kids 2015 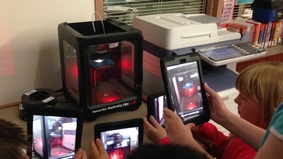 Since the hype of 3D printing has hit the education market, schools have scrambled to get their hands on printers, laser cutters and the like. My stance with any new type of technology is to answer the important questions of why and how - before jumping into the commitment of a sizable purchase. I firmly believe that many are quick to put the cart before the horse when it comes to new tech, programs and initiatives. Besides researching the tools, it's critical to figure out how they fit into your curriculum and overall plan for your school's initiative. Of equal importance is who. Who will make sure the device is used effectively? Integrated into instruction in a meaningful and purposeful way? Who will be responsible for maintaining it from a technical standpoint? Is funding available for filament and maintenance needs once the warranty expires? This is all part of the journey. I opted not to seek funding for a 3D printer this year, however I did want to expose my students to 3D printing. One of the ways I did this on a small scale was through a field trip to a neighboring school. Read more below. We also have exciting plans to expose ALL of our students to 3D printing later this month. More details in a future post. Makerspace & 3D Printing Field Trip In April, I took a group of fifth graders to a local middle school. Since the fall, this group of five students, have been part of my "Coding Crew", learning the Python programming language. Because of their involvement in programming, they helped to implement our school wide computer science initiative, Hour of Code in December. These 5th graders taught younger students about the importance of computer science and helped them learn how to use coding programs and apps. The field trip was a reward for the efforts of these students in promoting technology at our school. At Smith Middle, our group of students were led by the dynamic duo, Greg Garner, Instructional Tech Facilitator and Gabriel Grana, Teacher Librarian. They planned a rotation of four stations:
|
AuthorDigital Learning/STEaM Consultant, Teacher, Mom, Maker, Lifelong Learner...sharing engaging ideas to leverage learning. Archives
April 2016
Categories |



 RSS Feed